
Best Fertilizer for Aloe Vera in Pots: What I Wish I Knew Before I Burned My First Plant
A practical guide with real mistakes, specific product picks, and the exact feeding schedule that finally got my aloe thriving.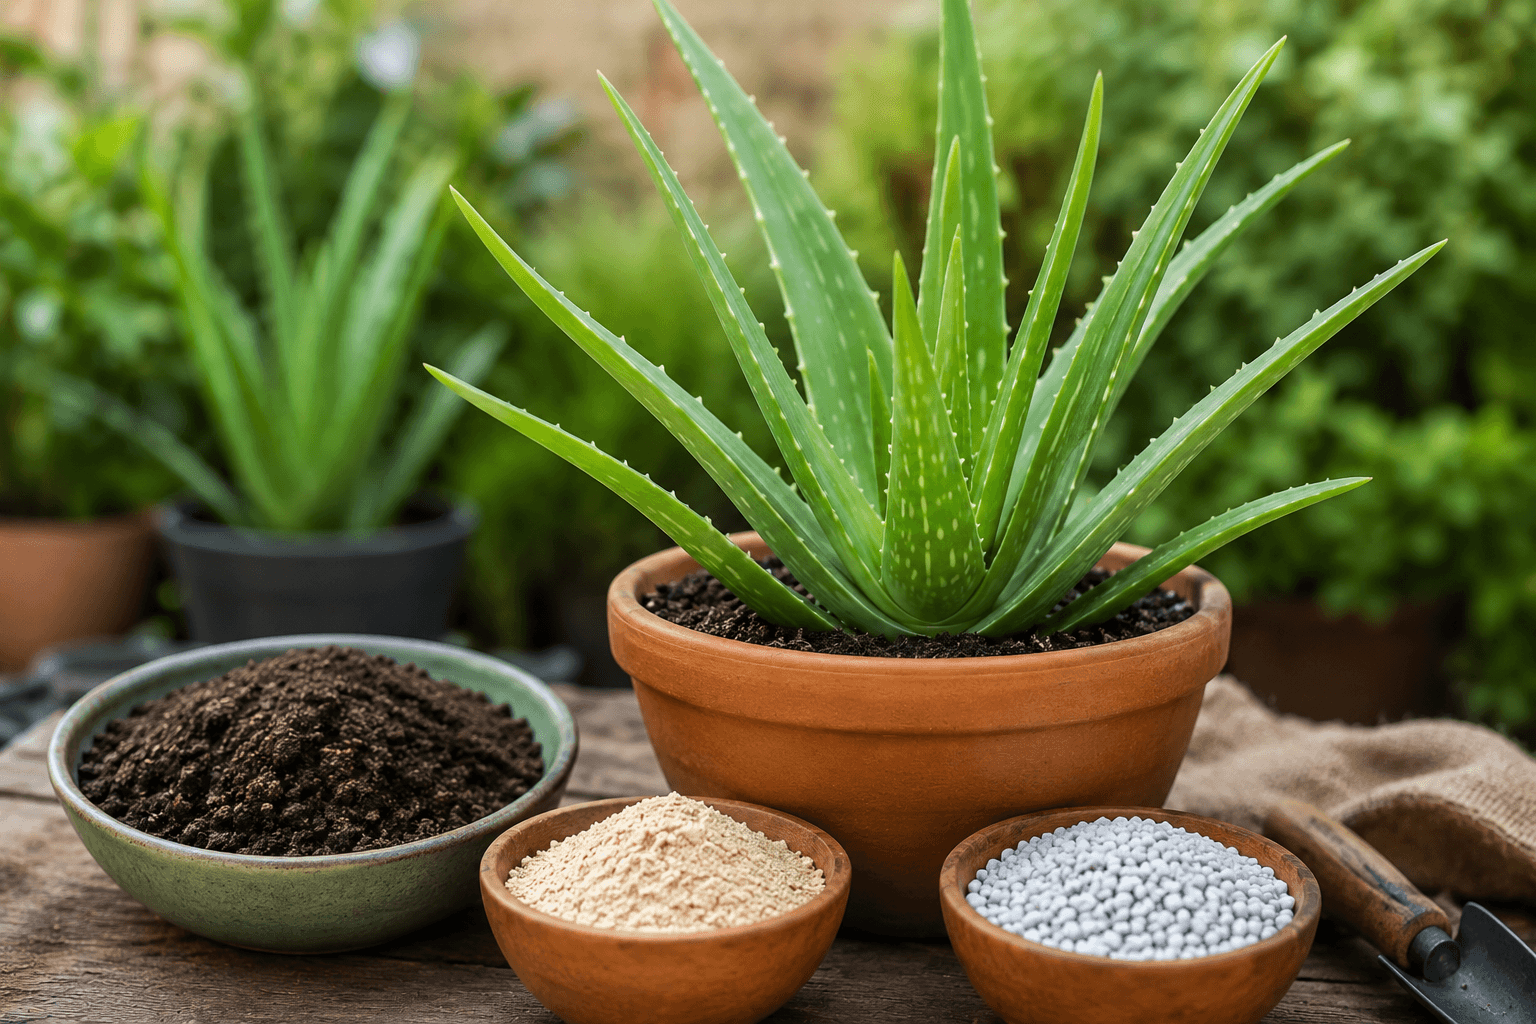
Healthy aloe vera in a terracotta pot with well-draining succulent mix — the right setup before any fertilizer is applied.
Key Takeaways
- Aloe vera is a light feeder. Overfeeding is far more dangerous than underfeeding.
- Use a low-nitrogen, phosphorus-forward formula — NPK like 5-10-5 or 2-7-7 works best.
- Always apply at half the label’s recommended strength, sometimes even less.
- Feed only during the growing season: April through August. Never in fall or winter.
- Fertilizer burn looks identical to underwatering — check your feeding history first.
- Fresh potting mix feeds your plant for 6 to 12 months. Skip fertilizing right after repotting.
- Flushing the pot with plain water 2 to 3 times a year prevents dangerous salt buildup.
I killed three aloe vera plants before I figured out what I was actually doing wrong.
The sunlight wasn’t the problem. Neither was the watering schedule. Fertilizer was the culprit — or more precisely, how carelessly I was applying it.
If you’re searching for the best fertilizer for aloe vera in pots, this is the guide I wish existed five years ago. No filler, no theory — just what works, what causes damage, and exactly what my routine looks like now.
Why Aloe Vera Needs So Little Fertilizer
Before you buy anything, it helps to understand how aloe vera actually grows.
These plants are native to dry, rocky, nutrient-poor soil in arid parts of South Africa and the Arabian Peninsula. According to the Missouri Botanical Garden’s aloe vera profile, this plant thrives in conditions most other houseplants would find inhospitable. Their thick, waxy leaves are built for long-term water and nutrient storage. They evolved to survive with very little, not to thrive on plenty.
When I dumped a full-strength liquid fertilizer on my first aloe, the tips turned brown within two weeks. I assumed it was underwatering. It wasn’t. It was fertilizer burn — too much nitrogen hitting roots that simply aren’t built for heavy feeding.
What happens when you over-fertilize: salt from the fertilizer builds up in the confined pot soil. Those salts pull moisture out of the roots through osmosis. Roots dehydrate. Tips burn. The plant starts to deteriorate from the inside out.
So the goal is not to push growth. It’s to gently supplement during active growing months and stay completely hands-off the rest of the year.
The Best Fertilizer for Aloe Vera in Pots: My Top Picks
I’ve tested quite a few products. These are the ones I keep coming back to.
Liquid, Organic and Granular: Which Type Suits Your Aloe?
Each format has a different risk profile and application method. Liquid fertilizers give you the most control over dose, organic options are the most forgiving, and granular slow-release is best if you want a hands-off approach. The product cards below cover one of each.
1. Schultz Cactus Plus Liquid Plant Food
NPK: 2-7-7This is my go-to and has been for three years. The ratio is ideal for succulents — low nitrogen, solid phosphorus and potassium. The 2-7-7 profile supports root strength and firm leaf structure without pushing the soft, floppy growth that excess nitrogen causes.
I use 7 drops per quart of water instead of the recommended amount, which is already conservative. The results are steady, healthy growth without any burn. Widely available, affordable, and the bottle lasts the whole season for multiple plants.
Best for: Beginners and experienced growers alike. Hard to over-apply at half strength.
2. Espoma Organic Cactus! Liquid Plant Food
NPK: 1-2-2If you prefer organic, this is the best option I’ve found. The 1-2-2 ratio is about as gentle as it gets, and the organic form means nutrients release more slowly than synthetic options — which is exactly what you want with a slow-growing succulent.
It also contains beneficial microbes that improve soil health over time. In a pot that never gets refreshed with garden soil, that microbiome support actually matters. I switched to this after noticing white salt crust forming on my soil from synthetic fertilizer. Haven’t had that problem since. If you’re still weighing which route to take, our guide on organic vs synthetic fertilizer for potted plants covers the full trade-offs across a two-season real-world comparison.
Apply: Every 4 to 6 weeks during the growing season at full label strength (it’s gentle enough to skip diluting).
3. Osmocote Smart-Release Plant Food
NPK: 14-14-14Osmocote is a slow-release granular that feeds for four to six months based on soil temperature. For aloe vera, I use it at a quarter of the label rate — a small pinch pressed lightly into the top inch of soil once in spring.
The benefit: you can’t forget to fertilize. One application and the plant is covered for the season. The risk: unlike liquid, you can’t flush it out if you use too much. So be very conservative. I use this specifically for my aloe in terracotta pots that dry out quickly, where liquid tends to flush through before doing much good.
Best for: Hands-off growers. Use sparingly — well under the label rate. If you’re undecided on format, our fertilizer spikes vs liquid fertilizer comparison explains exactly when each makes sense for indoor plants.
What to Avoid Feeding Your Aloe
Knowing what doesn’t work is just as important as knowing what does.
- Full-strength outdoor fertilizers. Products like 10-10-10 at full dose are built for fast-growing garden plants. In a pot, that same concentration causes immediate salt burn on aloe roots. Our breakdown of liquid vs granular fertilizer for houseplants explains why concentration matters so much in confined soil volumes.
- High-nitrogen formulas. Nitrogen (the first NPK number) drives leafy growth. For aloe, excess nitrogen produces soft, pale, floppy leaves that lose their upright structure and look wrong.
- Any fertilizer in fall or winter. Aloe goes semi-dormant in low-light cooler months. Roots are barely active and can’t absorb nutrients. Fertilizing during this period just accumulates as damaging salt in the soil.
- Feeding a stressed or sick plant. Root rot, pests, or severe leaf damage all need to be addressed first. Fertilizer is food, not medicine — it won’t fix an underlying problem.
- Applying to completely dry soil. Fertilizer salts hitting dry root tissue causes chemical burn almost immediately. Always water with plain water first, let it drain, then apply the diluted fertilizer.
The Feeding Schedule That Actually Works
This is my exact routine, simplified. It’s low-risk, low-effort, and produces consistent results.
Use a balanced liquid fertilizer at half strength. Water the plant first with plain water, let it drain, then apply. This signals the start of the growing season and gives the roots something to work with as growth begins.
Feed once every 4 to 6 weeks. Watch the plant. If it’s pushing new leaves, that’s your signal it’s actively growing and can use a light feed. If growth has slowed or you’re in a low-light spot, skip the feeding entirely.
Only if the plant is still visibly growing. Skip this if growth has already slowed heading into autumn or if your plant is in a lower-light position.
No fertilizer at all. This rest period is critical. Forcing growth in low-light winter conditions produces weak, pale, structurally compromised leaves that never fully recover their look.
The Light-Fertilizer Connection Most People Miss
This was the biggest lesson from my first year with aloe vera.
Plants convert nutrients into growth through photosynthesis. No light means no photosynthesis. No photosynthesis means no growth. And when there’s no growth happening, the fertilizer has nowhere to go. The University of Florida IFAS Extension guide on succulent care reinforces this point, recommending that feeding frequency be scaled directly to available light — not to a fixed calendar.
A snake plant sitting in a dark corner barely needs fertilizer. The same logic applies to aloe in a dimly lit room — one very light feed in early summer and nothing else. The plant simply isn’t growing fast enough to process more than that.
An aloe in bright indirect light near a south or west-facing window will grow noticeably faster and can handle slightly more regular feeding.
Signs Your Aloe Actually Needs Fertilizer
Pale or Washed-Out Leaf Color
If the deep green fades to a lighter, dull tone, nitrogen deficiency is possible. But check light levels first — insufficient light causes the exact same symptom. If the light is adequate and the color is still fading, a half-strength balanced feed often restores it within a few weeks.
No New Growth for an Entire Growing Season
Aloe is slow but should push at least one or two new leaves between spring and summer under decent conditions. If yours has been completely static for a full season and the soil, pot, and watering setup are all correct, a gentle early-summer feed can encourage it.
Older Leaves Going Limp at the Base
If the plant hasn’t been repotted in two or more years, the nutrients in the potting mix may simply be exhausted. Either repot with fresh succulent mix — which resets the nutrient baseline completely — or begin a gentle feeding routine in spring.
Mistakes I Made (So You Don’t Have To)
Using Full-Strength Doses
Every fertilizer label is written for plants that actually want heavy feeding — vegetables, annuals, roses. Aloe vera is not in that category. I now always cut the recommended dose in half, sometimes to a quarter for granular options.
Fertilizing in Fall or Winter
I did this once because my plant looked pale. The pale color was from lower winter light, not nutrients. I added fertilizer, the plant sat in cool soil with near-zero root activity, and within a month I had mushy roots. I had to propagate the healthy pups and start over.
Fertilizing Dry Soil
Fertilizer salts hitting completely dry root tissue cause chemical burns almost immediately. I now always water lightly with plain water, let it drain fully, then water again with the diluted fertilizer mix. This buffers the roots and ensures even distribution.
Fertilizing Right After Repotting
Fresh potting mix already contains nutrients from compost and slow-release pellets. Adding more fertilizer on top in the first six weeks causes concentration spikes. I always wait at least six weeks after any repotting before feeding anything.
Organic Alternatives Worth Knowing About
Some growers prefer organic amendments over liquid fertilizers, and the results can be excellent.
Worm castings are my favourite organic option. Mix a small amount into the top inch of soil in spring — maybe a tablespoon per 6-inch pot — and they release mild nutrients slowly without any risk of burn. I’ve done this for two seasons and the results are subtle but real: healthier roots, better colour, more robust leaves.
Diluted fish emulsion works but the smell indoors is genuinely awful. I tried it once. My apartment smelled like a harbour for a week. Avoid for indoor aloe.
Compost tea is another gentle option. Brew a very weak compost tea and apply once in spring. Very forgiving, very low risk, and it introduces beneficial organisms to the soil environment.
What to Do if You’ve Already Over-Fertilized
It happens. I’ve been there twice. The signs are brown or crispy leaf tips, unusual softness in the leaves, or white crusty salt deposits on the soil surface.
Here’s exactly what I do:
- Flush the pot thoroughly with plain water. Run water slowly through the pot for several minutes until it drains completely clear from the bottom. This removes excess fertilizer salts.
- Let the soil dry out fully before watering again. Don’t rush this step.
- Trim any brown tips with clean scissors at a slight angle. The plant won’t regrow that tissue, but trimming makes it look better and removes dead material.
- Skip fertilizing for the rest of the growing season. Give the plant time to stabilize before adding anything else.
In severe cases where roots feel mushy, unpot the plant, trim away any dark or soft roots, dust cut areas with powdered cinnamon (a natural antifungal), and repot in fresh dry soil. Wait two full weeks before watering. It sounds extreme but it reliably works. The Royal Horticultural Society’s aloe vera care guide also recommends a complete soil refresh as the first step when dealing with fertilizer-related root stress.
The Pot Size Factor Most Articles Completely Ignore
When you fertilize a small pot, the nutrients have nowhere to go. Unlike an outdoor garden bed where excess fertilizer washes deep into the earth, a pot concentrates everything in a confined root zone. Salts build up over time, especially combined with tap water that already contains dissolved minerals.
This is why I flush my aloe pots with plain water every few months even when I’m not feeding. And if I haven’t repotted in two years, I do a full repot in fresh soil before starting any new fertilizing routine — because fresh soil resets the nutritional baseline and means I can often skip an entire season of feeding entirely. This same principle of matching fertilizer intensity to pot volume applies just as much to other container plants — it’s something I cover in detail in our guide on slow-release vs liquid fertilizer for citrus in pots.
Quick Comparison: Best Fertilizers for Potted Aloe Vera
| Fertilizer | Type | NPK | How Often | Risk Level |
|---|---|---|---|---|
| Schultz Cactus Plus Liquid | Liquid synthetic | 2-7-7 | Every 4–6 weeks (spring–summer) | Low (at half dose) |
| Espoma Organic Cactus! | Liquid organic | 1-2-2 | Every 4–6 weeks (spring–summer) | Very Low |
| Osmocote Smart-Release | Granular slow-release | 14-14-14 | Once in spring (quarter dose) | Low (used sparingly) |
| Worm Castings | Organic amendment | Varies | Once in spring (top-dress) | Very Low |
| Any full-strength outdoor fertilizer | Varies | Varies | Not recommended | High |
Frequently Asked Questions
Feeding Frequency and Timing
Pot, Soil and Troubleshooting Questions
Aloe vera is one of the most satisfying plants to keep in pots once you stop overcomplicating the care. The best fertilizer for aloe vera in pots is a low-nitrogen, phosphorus-forward liquid formula at half strength, applied once or twice during the growing season. That’s really it.
Everything else — the brand, the exact ratio, organic versus synthetic — is secondary to simply not overdoing it. I spent years worrying about which product to buy when the real problem was how often I was applying it. Once I pulled back, my aloe thrived.
Start lean. Watch the plant. Adjust from there.