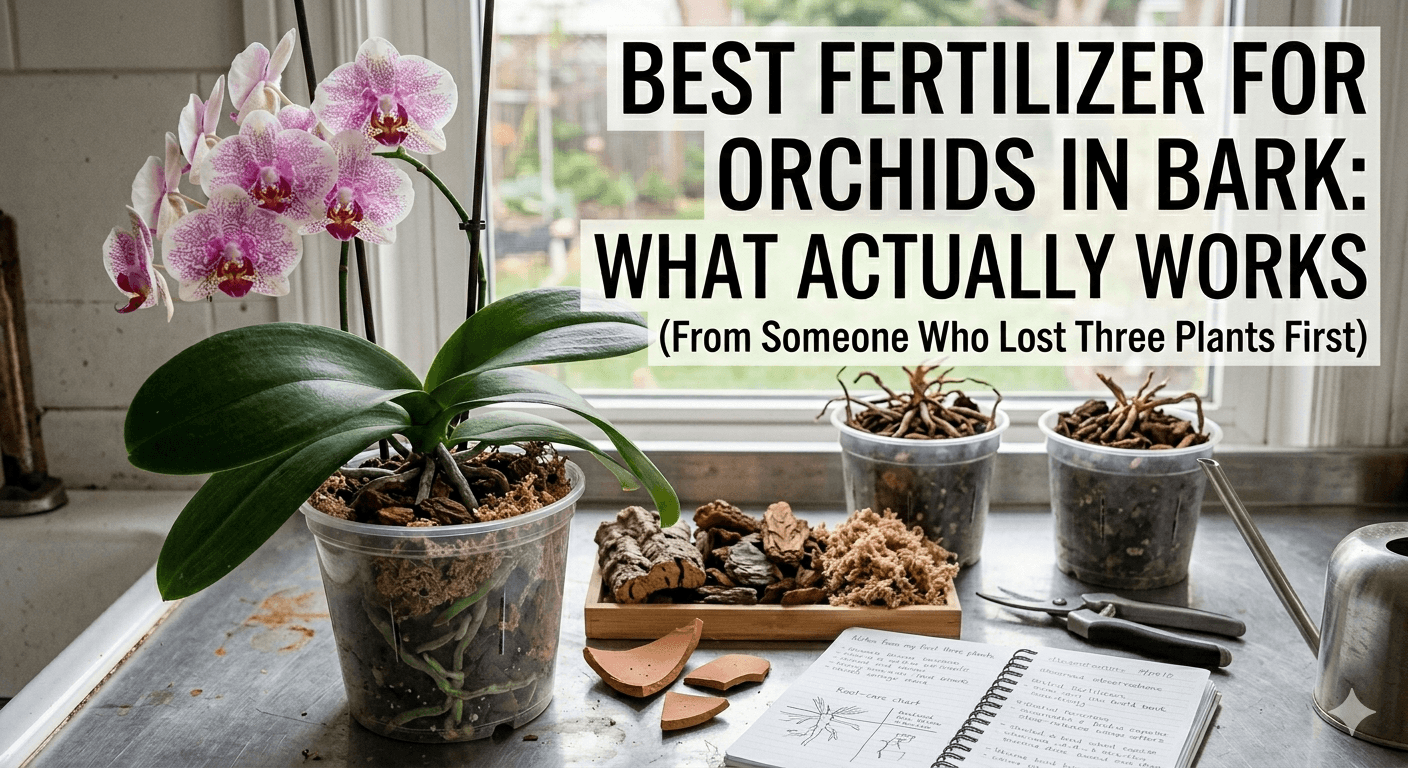
Best Fertilizer for Orchids in Bark: What Actually Works (From Someone Who Lost Three Plants First)
A real grower’s guide — the urea problem nobody explains, why bark starves your orchid of nitrogen, the weakly-weekly method, and the bark age tip most articles completely miss.
- Bark actively depletes nitrogen as it breaks down — your orchid competes with bacteria for the same nutrient you are adding.
- Urea-based fertilizers do not work efficiently in bark. Always use urea-free formulas with ammoniacal or nitrate nitrogen.
- The MSU 13-3-15 formula was developed specifically for bark-grown orchids and is the most reliable pick available.
- Fertilize at quarter strength with almost every watering — the “weakly, weekly” method consistently beats monthly heavy doses.
- Always water before fertilizing. Dry roots plus fertilizer equals burn, every time.
- Flush the pot with plain water every three to four waterings to prevent mineral salt buildup in the bark.
- Fresh bark competes harder for nitrogen than older bark. Increase nitrogen slightly right after repotting.
I almost gave up on orchids entirely in my second year of growing them.
My plants sat in their bark mix looking sad, not blooming, with roots that had turned yellowish and soft at the tips. I was watering correctly. My east-facing window gave them plenty of indirect light. Fertilizer went in every two weeks, exactly like every guide told me to.
The problem was not how often I was feeding. It was that I was using the wrong fertilizer for bark — and I had no idea that the growing medium completely changes what your orchid actually needs.
After a lot of research, two more struggling plants, and one full restart, I figured out the real reason why fertilizing orchids in bark is its own separate game — one I explored in depth when comparing how orchid fertilizer behaves differently in bark versus moss growing media. This guide covers everything I wish I had known before I wasted a year getting it wrong.
Why Bark Changes Everything About Fertilizing
Most orchid fertilizer guides treat the growing medium like it does not matter. “Feed every two weeks with a balanced fertilizer” and that is it. That advice is incomplete — and in bark, it can genuinely harm your plant.
Here is what is actually happening inside your pot.
Bark is an organic material. As it breaks down, bacteria in the mix get to work decomposing it. Those bacteria need nitrogen to fuel the decomposition process, and they pull it directly from the growing medium. That means they are competing with your orchid’s roots for the same nutrient you are trying to deliver.
This process is called nitrogen immobilization, and it is the silent reason so many bark-grown orchids look pale, grow slowly, and refuse to bloom no matter how consistently you fertilize.
The fix is specific: you need a fertilizer that delivers enough nitrogen, in the right chemical form, to satisfy both the bacteria and your plant. Change those two things and the results follow quickly.
What to Actually Look For in the Best Fertilizer for Orchids in Bark
Before getting into specific products, here are the three things that matter most.
1. Urea-Free Nitrogen Is Non-Negotiable
This is the detail that caught me completely off guard.
Most cheap fertilizers use urea as their nitrogen source because it is inexpensive to produce. The problem is that urea nitrogen has to be converted by soil microbes before plant roots can absorb it. In rich garden soil with a large microbial population, that conversion happens quickly. In a bark mix, the microbial population is too small and too specialized to do the job reliably.
The nitrogen number on the label simply does not reach your plant. You are paying for nitrogen that is mostly unavailable in this medium.
Look for fertilizers that list nitrogen as ammoniacal nitrogen or nitrate nitrogen. Avoid anything where urea is the first or only nitrogen source. I spent eight months using a grocery store orchid fertilizer that was almost entirely urea-based. Switching to a urea-free formula produced visible improvement within six weeks — which reinforced everything I had already read about how organic and synthetic nitrogen sources behave differently in container plants.
2. A Nitrogen-Leaning Ratio, Not a Bloom Booster
A lot of orchid content pushes high-phosphorus “bloom booster” fertilizers. There is a time for that — but not when your orchid is struggling in bark.
For bark-grown orchids during active growth, nitrogen comes first. A ratio tilted toward nitrogen, something like 3-1-2 or 13-3-15, keeps the plant building green healthy tissue and accumulating the energy reserves it actually needs before it can bloom. The University of Connecticut’s orchid care guide specifically recommends a high-nitrogen formula for bark-potted orchids for exactly this reason.
3. Consistent and Diluted — Not Occasional and Heavy
The “weakly, weekly” method — endorsed by the American Orchid Society’s fertilizing guide as the most reliable approach for home growers — has been used in serious orchid collections for decades for a very good reason. Orchids in bark dry out quickly, and every watering is an opportunity to deliver a small, steady amount of nutrition without letting salts build up in the mix.
I dilute my fertilizer to about one quarter of the recommended label strength and apply it with nearly every watering. Once or twice a month I use plain water only to flush out any mineral buildup. This keeps nutrient levels steady rather than spiking and crashing, which is much closer to how orchids naturally receive nutrition in the wild. For a full breakdown of why liquid feeding consistently outperforms slow-release granules for orchids, my guide on liquid vs granular fertilizer for houseplants covers the key differences.
The Best Fertilizers for Orchids Growing in Bark
These are the products I have personally used. No vague recommendations — just what actually worked and what I noticed.
1. MSU Orchid Fertilizer — Best Overall for Bark
This formula was created specifically for bark-grown orchids by Michigan State University, which is exactly what makes it stand apart. It is completely urea-free, and its higher nitrogen ratio reflects a genuine understanding of how bark media depletes available nitrogen over time.
When I switched to MSU, the change was noticeable in about six weeks. New leaf growth came in darker green and firmer. Root tips started showing healthy bright green instead of the dull yellowish-white I had gotten used to. A small bag diluted to quarter strength lasts a home grower well over a year.
For anyone growing orchids in bark who wants one reliable recommendation — this is it.
What I Like
- Developed specifically for bark media
- Completely urea-free nitrogen
- Visible results within 4–6 weeks
- Small amount goes a very long way
Watch Out For
- Harder to find in stores — order online
- Still needs quarter-strength dilution
2. Dyna-Gro Grow — Best All-Purpose Option
Dyna-Gro Grow is a completely urea-free formula that contains all 16 essential plant nutrients — most orchid fertilizers only cover the basic three and skip trace elements entirely. It is more balanced than MSU, which makes it a good fit year-round including cooler months when you want to reduce feeding slightly.
I use this as my second option when I want something flexible for multiple plants in different media. It is widely available, affordable, and consistently reliable. If MSU is hard to source where you are, this is the next best option.
What I Like
- Urea-free with all 16 nutrients
- Widely available in garden centers
- Works well across all growing seasons
- Very affordable per application
Watch Out For
- More balanced — not nitrogen-tilted like MSU
- Still flush the pot regularly
3. Jack’s Orchid Special — Best for Advanced Growers
Jack’s (formerly Peters) Orchid Special is a staple in many serious orchid collections. It is urea-free and uses a two-part mixing system — you combine the base formula with a separate calcium-magnesium supplement — which gives you precise control over what your plants receive.
The extra mixing step is a minor inconvenience, but the control is genuinely worth it once you understand what your specific plants need. I use this with my more sensitive species that respond poorly to one-size-fits-all formulas.
What I Like
- Precise nutrient control
- Urea-free professional formula
- Excellent for finicky species
Watch Out For
- Two-part mixing adds a step
- Higher upfront cost
- More than needed for casual growers
4. What to Avoid When Growing Orchids in Bark
The blue crystalline orchid fertilizers at grocery stores and hardware chains are almost all heavily urea-based. They look affordable and the packaging says “orchid” prominently. But for bark-grown orchids, you are pouring most of that nitrogen down the drain before your plant ever absorbs it.
I used one of these for about eight months. The difference after switching to a urea-free formula was dramatic enough that I genuinely felt frustrated I had wasted the time. Save yourself the same detour. And if fertilizer spikes crossed your mind as a more convenient option, our breakdown of fertilizer spikes vs liquid fertilizer for indoor plants explains exactly why spikes create uneven nutrient distribution that bark-grown orchid roots cannot use effectively.
When They Are Fine
- Orchids in sphagnum moss
- Orchids in soil-based mixes
Why to Avoid in Bark
- Urea nitrogen poorly absorbed in bark
- Nutrients show on label but never reach roots
- Leads to slow growth even with regular feeding
When to Fertilize Orchids Growing in Bark
Timing matters as much as what product you use. As the University of Maryland Extension’s Phalaenopsis care guide notes, orchids have active growth periods and rest periods, and your feeding schedule should match them.

Healthy orchid roots in bark should turn bright green immediately after watering and fertilizing. If they stay yellowish when wet, that is usually a nitrogen deficiency signal.
Signs Your Orchid Needs More Fertilizer
Orchids in bark are fairly quiet about deficiencies at first, but they do show signs if you know what to look for.
Signs You Are Overfeeding Your Orchid
Over-fertilizing is far more common than under-fertilizing with orchids. Here are the clear warning signs:
- Brown leaf tips — The classic sign. Many people blame underwatering, but if the bark is consistently moist, fertilizer burn is more likely.
- White crusty residue on bark surface — Salt buildup from accumulated fertilizer. A clear sign you are feeding too much or too often.
- Wilting despite moist bark — Severe root burn can damage roots so badly the plant cannot take up water even though it is available.
How to Fix Fertilizer Burn in Bark-Grown Orchids
If you have already gone too far, here is what actually helps. The American Orchid Society’s guide on fertilizer burn outlines the same recovery steps that experienced growers rely on:
- Flush the bark immediately. Run water slowly through the pot for about thirty seconds, let it drain fully, repeat two or three times. This washes out accumulated fertilizer salts. I have saved two plants this way.
- Stop all feeding for at least six to eight weeks. Give the roots time to recover before introducing any fertilizer again.
- Trim the damaged leaf tips. Brown tips will not recover, but trimming them cleanly removes dead tissue and improves appearance.
- Consider repotting into fresh bark. If salt buildup is severe, a fresh medium can genuinely reset the situation faster than flushing alone.
Quick Comparison: Best Fertilizers for Orchids in Bark
| Fertilizer | NPK | Urea-Free? | Best For | Burn Risk |
|---|---|---|---|---|
| MSU Orchid Fertilizer | 13-3-15 | Yes | Bark specialists — top overall | Very Low |
| Dyna-Gro Grow | 7-9-5 | Yes | All-round, year-round feeding | Very Low |
| Jack’s Orchid Special | 7-5-6 | Yes | Advanced growers, finicky species | Low |
| Store Urea Formulas | Varies | No | Not recommended for bark | Moderate |
Insider Tips Most Orchid Articles Do Not Cover
These are the details I figured out through experience that almost no guide mentions.
Choose the Right Approach for Your Situation
- You are new to orchids and want something simple: MSU Orchid Fertilizer at quarter strength with every watering during growing season. Start there.
- You cannot find MSU locally: Dyna-Gro Grow is urea-free, widely available, and consistently reliable. A solid substitute.
- You grow a larger or more varied collection: Jack’s Orchid Special gives two-part control that pays off with finicky species.
- Your orchid has fertilizer burn right now: Stop all feeding. Flush the bark three times. Wait six to eight weeks before restarting at lower strength.
- You just repotted into fresh bark: Increase nitrogen slightly for the first three months — fresh bark competes hardest.
- Your orchid has not bloomed in two-plus years: Stabilize nitrogen first. Once the plant looks healthy and active, introduce a small phosphorus boost in late spring.
FAQ — Questions People Actually Ask
Questions About Frequency and Formula Choice
Questions About Cost and Over-Feeding
The Bottom Line
Growing orchids in bark is genuinely rewarding, but the fertilizer rules are different from every other houseplant medium. The bark actively works against your plant’s nitrogen supply as it decomposes, and standard fertilizers do not solve that problem — they just create the appearance of feeding while most of the nitrogen disappears.
The combination that actually works: a urea-free nitrogen source, applied consistently at quarter strength with every watering, with regular flushing to prevent salt accumulation. Get those three things right and your plants will show you within weeks.
Start with MSU or Dyna-Gro, commit to the weakly-weekly habit, and pay close attention to your root color. Bright green roots after watering means things are working. Your orchids will tell you when you have got it right. If you are still building your overall approach to houseplant feeding, our complete guide to the best fertilizer for indoor plants is a solid foundation to start from.
Leave a Comment
Your email address will not be published. Required fields are marked *